Discussion Board in Microsoft SharePoint 2013
Discussion Board is used for communication among team members. The discussion board shows the most recent discussion first on top, as well as the number of replies for each discussion. User can quickly see which discussions have the most recent activity and which ones are the most popular discussion. Members can also customize their own views of the discussion board. In this SharePoint Tutorial for beginners, we will follow a step by step approach to create a discussion board in Microsoft SharePoint 2013 and further see how to create a thread under it.
Key Features of a Discussion Board:
- Communication between team members.
- Shown recent discussion of team members.
- Admin user can set number or limit of discussions and shown on top.
- Easily customization.
Steps to Create a Discussion Board in Microsoft SharePoint 2013:
- Login with SharePoint site.
- Navigate to Site and Click on “Settings” option and then click on “site contents” option.

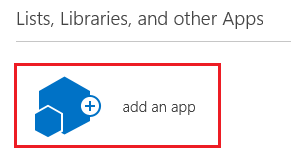
- Then click on “add an app” option.

- Then click on “Discussion Board” option from your app.

- This option will be available in publishing site, but it’s not available in team site template. So click on site section option.

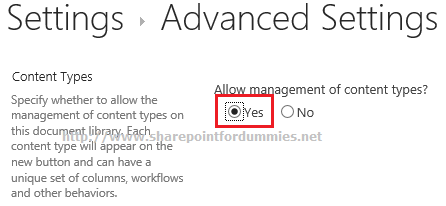
- Then click on “Manage Site features” option.

- Then activate the “Team Collaboration Lists” option.

- That’s it. Now “Discussion Board” option available to user.
- Now click on “Discussion Board” option, as per step 4. It will open one popup box.

- Give proper name of discussion board list and it will create discussion list in your site.

 It will show most recent discussion first and you can customize as per need.
Note: We have already discussed the same step by step approach to create a Custom List in Microsoft SharePoint 2013 using SharePoint Designer that will also be beneficial.
Steps to Create a Thread on newly created Discussion Board
- Click on new discussion option.

- It will start new thread of particular discussion.
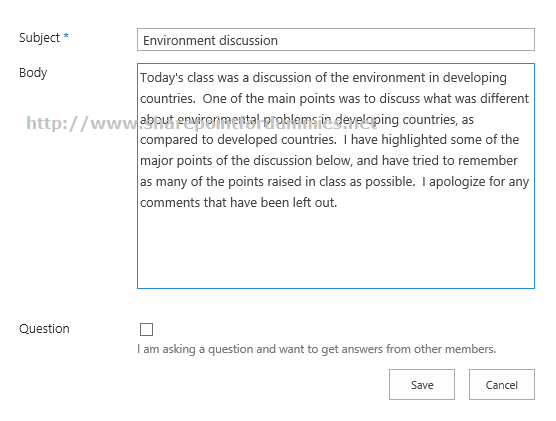
- Now login user can participate in this thread and give their own view.

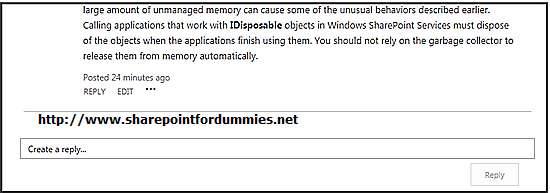
- User can reply immediately after the post by clicking on the textbox at the end of the page, then clicking the Reply button.
Discussion Views in Share Point
Each discussion can be seen with many different Out-of-Box Views.
The views available are:
- Flat
- Management
- Threaded

Other Microsoft SharePoint For Dummies and related Articles:
- 2 Simple Ways to Create Custom List in SharePoint 2013
- Site Vs Site Collection in SharePoint 2013
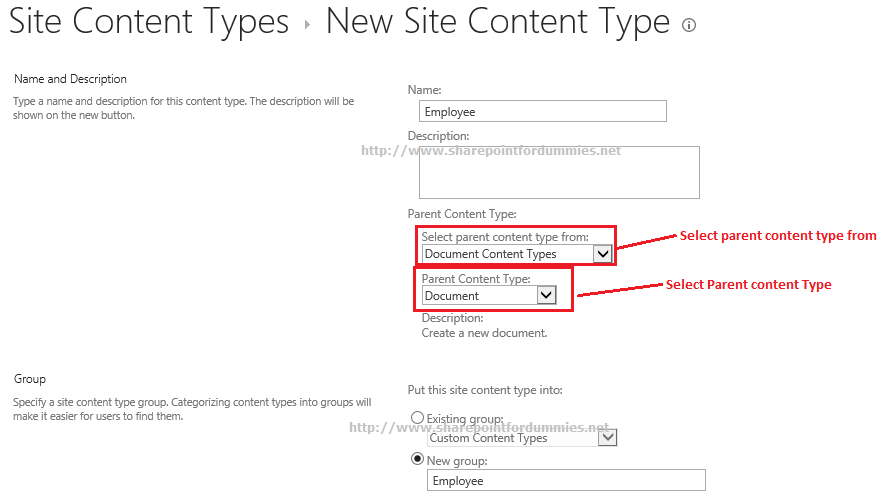
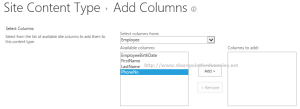
- Simple Steps to Create a SharePoint Content Type
- a Must Have SharePoint Interview Questions
- ASP.NET MVC3 Vs MVC4 Vs MVC5
- A Practical guide to ASP.NET Web API
- What’s New in SharePoint 2013 for End Users | Developers | Administrators